
A few months ago, when I first came across a project where Ansible and GitLab CI/CD were used to automate VM deployments in VMware vCenter, I wasn’t directly responsible for writing the playbooks. My role was more on the VMware side — managing vCenter, handling ESXi administration, and preparing the YAML host files that Ansible would use. At the same time, I was also learning how to work with Git, since those YAML files needed to be versioned and pushed into the repository.
Even though I wasn’t the one building the automation logic, I found the whole process fascinating. Watching how a pipeline could trigger Ansible and, based on predefined variables, automatically provision a VM in a consistent way really caught my attention.
Since then, I’ve kept thinking how powerful this approach was and how much time it could save compared to manual deployment in the vSphere client. Ever since, I’ve wanted to try implementing a similar setup in my own lab environment — of course on a smaller scale, but mainly to understand the workflow and the tools involved.
This post is about revisiting that idea and experimenting with Ansible and GitLab CI/CD for VM automation in a homelab setting. My goal is not only to reproduce what I saw back then, but also to really understand how it all fits together.
About Ansible and GitLab CI/CD
Ansible is an open-source automation tool widely used for provisioning, configuration management, and application deployment. It works with a simple, human-readable syntax (YAML playbooks) and does not require agents on managed systems, making it easy to adopt and integrate into existing environments. In the case of VMware, Ansible provides dedicated modules and collections (such as community.vmware) that allow direct interaction with vCenter to create, modify, or remove virtual machines.
GitLab CI/CD is a continuous integration and continuous delivery platform integrated into GitLab. It allows us to define automated pipelines that run whenever changes are pushed to a repository. By combining GitLab CI/CD with Ansible, infrastructure tasks like deploying new VMs can be triggered directly from version-controlled code, ensuring consistency, repeatability, and traceability of every change.
Prerequisites
To build this lab, we will need the following main components:
1. vSphere Environment
- A vCenter Server with sufficient permissions to clone virtual machines and apply customization.
- At least one ESXi host that provides compute and storage resources.
- A Linux VM template (for example Ubuntu 22.04) prepared with:
- open-vm-tools installed (to allow VMware guest customization).
- SSH service enabled.
- A dedicated user account that Ansible can connect to.
- (Optional) cloud-init for advanced automation, but not strictly required.
2. Ansible and GitLab CI/CD Environment
In this lab, both Ansible and GitLab (including the GitLab Runner) are installed on the same Linux server. This keeps the environment simple: the same machine will host the automation engine (Ansible) and the CI/CD orchestrator (GitLab).
Step one: Install GitLab
First, install GitLab Community Edition. On Ubuntu/Debian, we can do this:
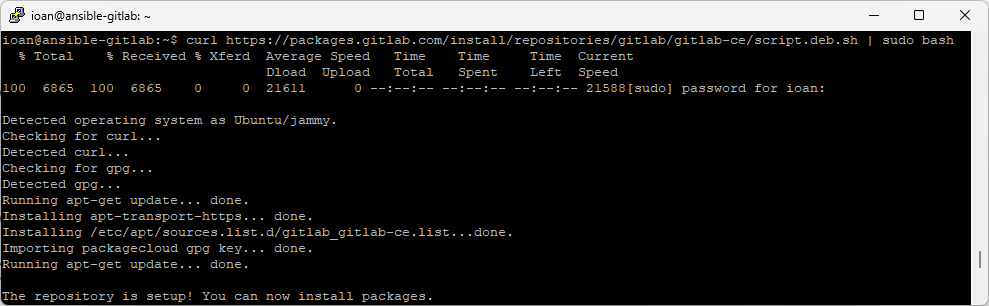
# Add GitLab package repository
curl https://packages.gitlab.com/install/repositories/gitlab/gitlab-ce/script.deb.sh | sudo bash
# Install GitLab CE
sudo apt install gitlab-ce -y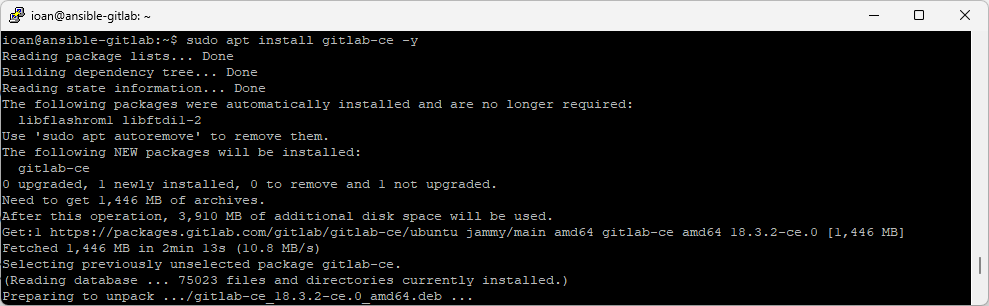
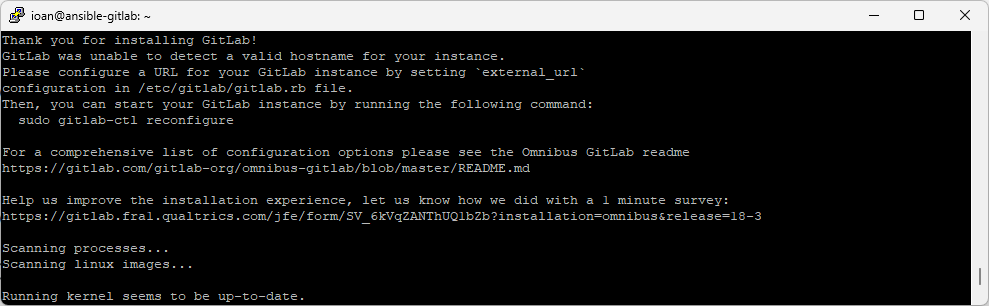
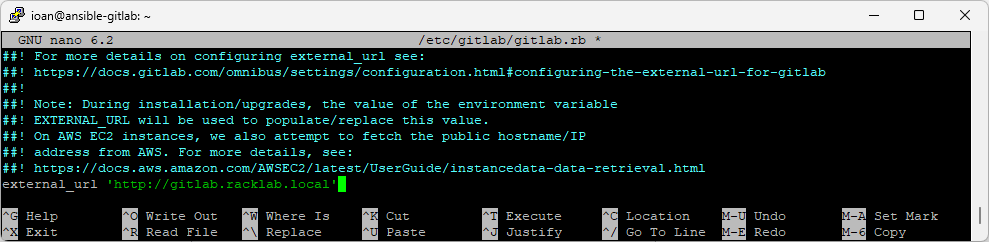
After installation, configure GitLab: as mentioned above, I’ve changed the external_url to “http://gitlab.racklab.local” and added the FQDN to my local DNS
# Reconfigure GitLab services
sudo gitlab-ctl reconfigure
By default, GitLab will be accessible at http://<server-ip> on port 80.
The initial root password is stored in /etc/gitlab/initial_root_password.
Step two: Install GitLab Runner
The GitLab Runner executes CI/CD jobs. Install it on the same server:
# Add GitLab Runner repository
curl -L https://packages.gitlab.com/install/repositories/runner/gitlab-runner/script.deb.sh | sudo bash
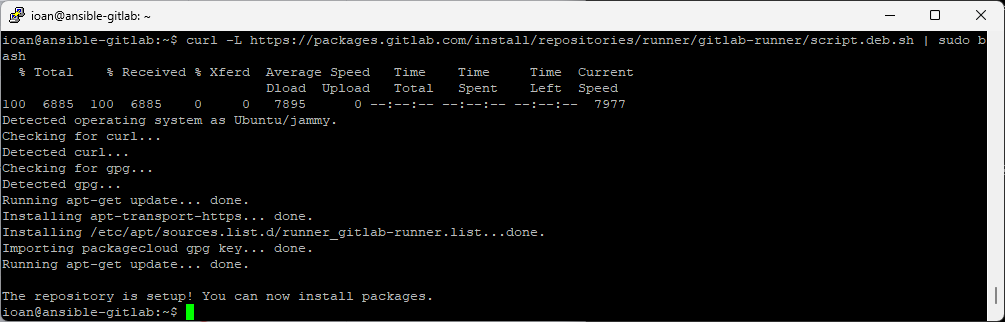
# Install runner
sudo apt install gitlab-runner -y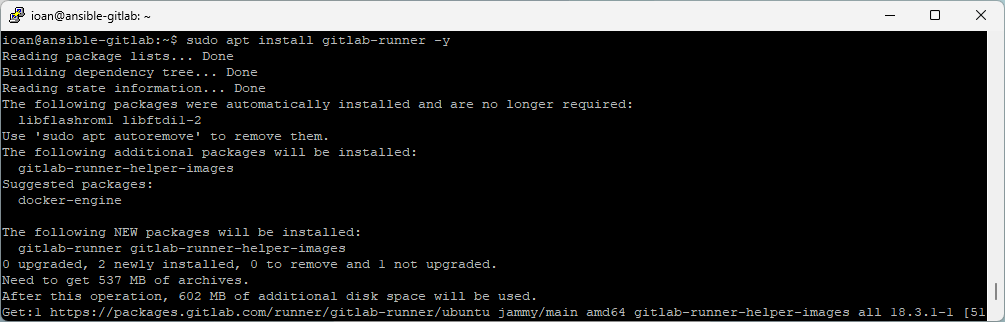
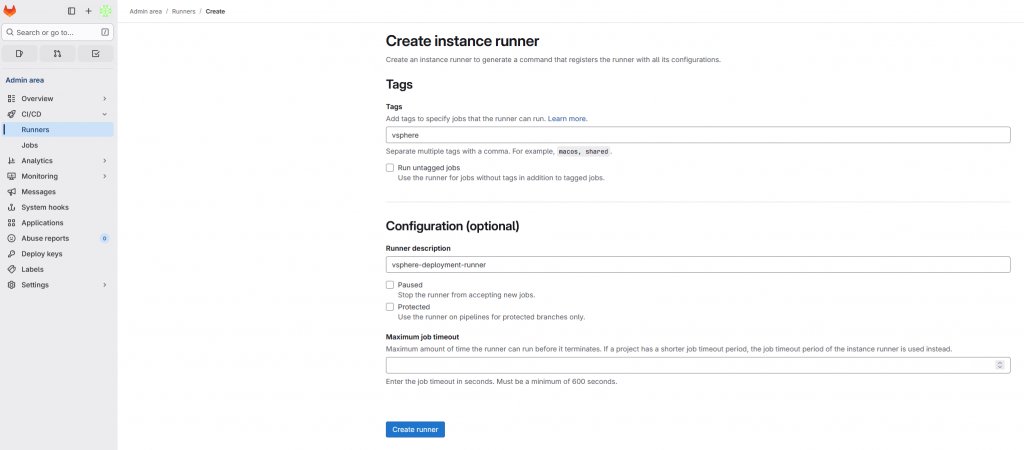
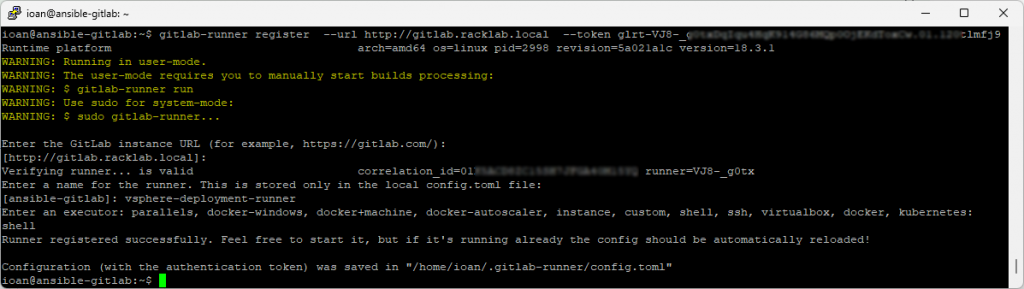
Create Runner in GitLab (from GitLab UI → Admin → Runners → Create instance runner) and add Tags and Runner description (optional)
We register the runner with our GitLab instance – folow Step 1 in picture bellow.
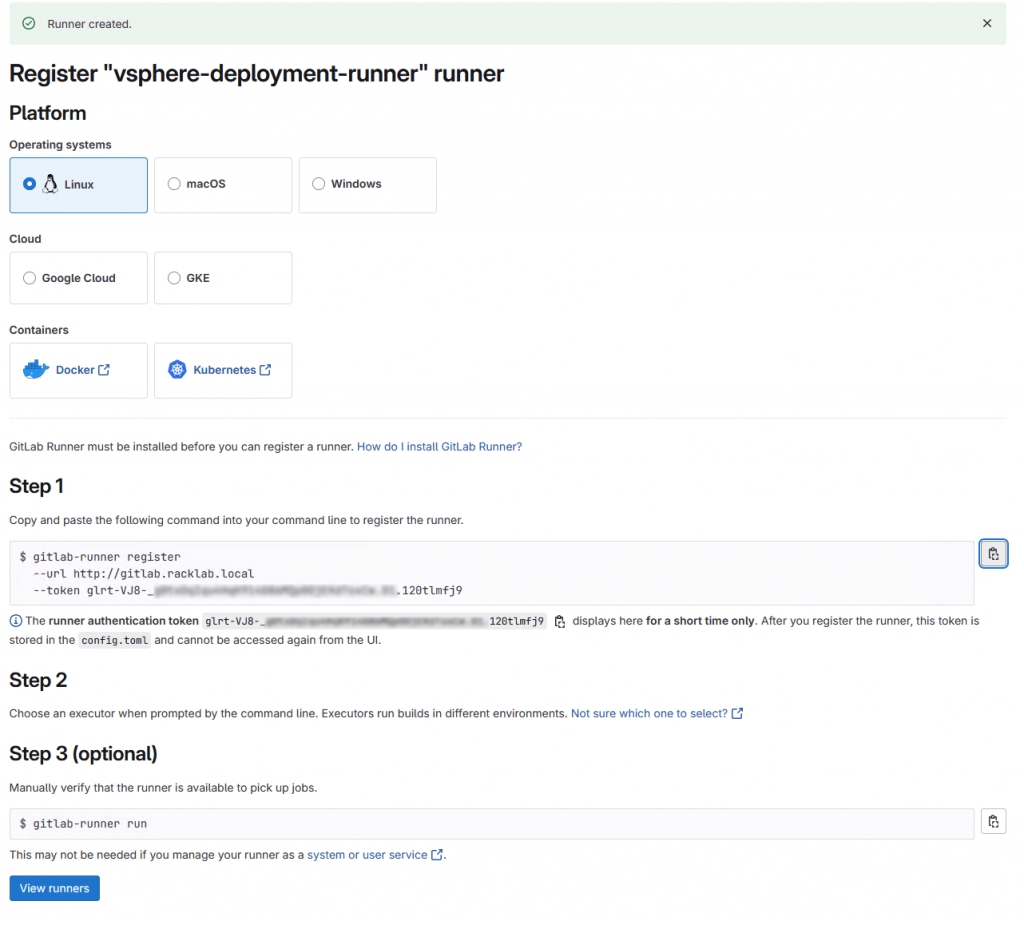
Copy and paste the command from Step 1 into the command line
Step three: Install Ansible
Ansible will run playbooks against vCenter. Install it via apt:
sudo apt update
sudo apt install ansible -y
ansible --version
Step four: Install VMware-related dependencies
To manage vSphere with Ansible, we need extra Python modules and Ansible collections.
1. community.vmware collection:
This contains modules like vmware_guest that allow VM deployment.
ansible-galaxy collection install community.vmware2. pyhon3-pip package manager for Python:
sudo apt update
sudo apt install python3-pip -y
pip3 --version
3. pyVmomi library:
The official Python SDK for the VMware vSphere API.
pip3 install pyvmomi
Step five: Verify environment
Check that all pieces are in place:
# GitLab status
sudo gitlab-ctl status

# GitLab Runner status
sudo gitlab-runner status

# Ansible version and VMware collection
ansible --version
ansible-galaxy collection list | grep vmware

Conclusion
At this stage, the lab environment is fully prepared:
- GitLab is up and running, accessible via the web interface.
- GitLab Runner has been installed and registered successfully, ready to execute CI/CD jobs.
- Ansible is installed on the same server, along with the required VMware dependencies (community.vmware collection, pyVmomi).
This foundation allows us to combine GitLab CI/CD with Ansible to automate VM lifecycle management directly in vCenter.
What’s next
In the next post, we will:
- Build Ansible playbooks that define how VMs are deployed and customized.
- Organize VM configuration into structured files for reusability and scalability.
- Integrate these playbooks into a GitLab pipeline so VM deployment can be triggered automatically or on demand.
This is where the real automation begins — turning our prepared lab into a reproducible workflow for provisioning and configuring VMs on vSphere.