
Today I’ve decided to upgrade my VMWare LAB from version 6.7 to version 8. Even it is a straightforward process, I would like to share it, maybe it can help someone in some way.
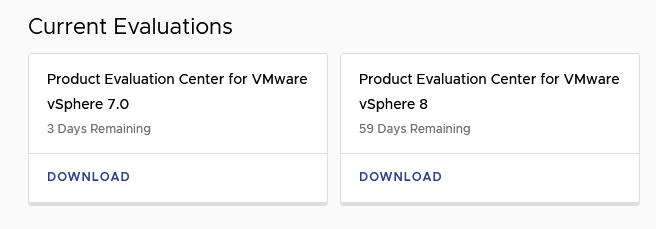
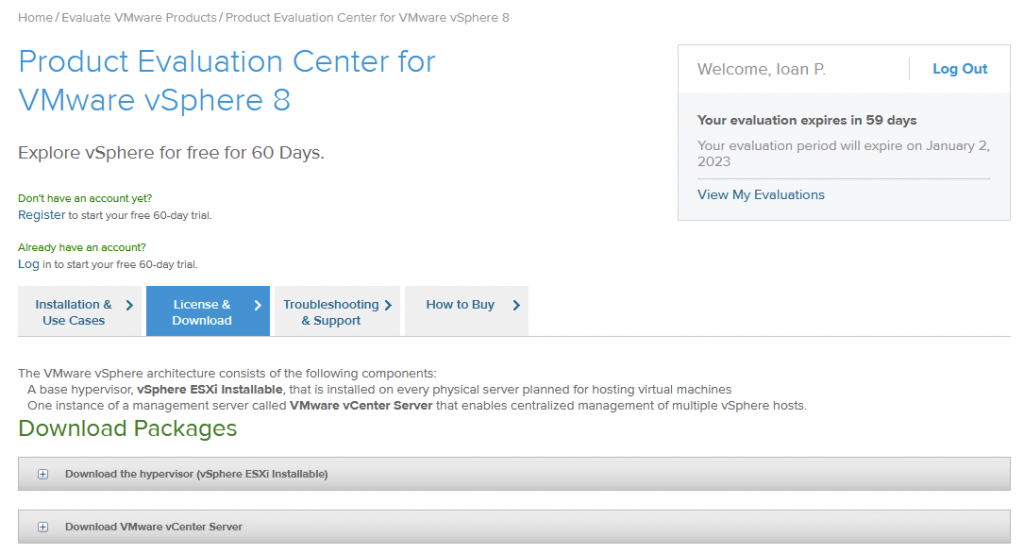
If you are having only a customer account at VMWare, you have to register first to be able to evaluate vSphere8. So looks my evaluations board on VMWare portal.
After registering, you will be able to download the products – vCSA and Hypervisor. Use this link.
Step one – Upgrade vCenter
Before starting, please make a snapshot of your running vCSA. In case something goes wrong, you will have the possibility to restore.
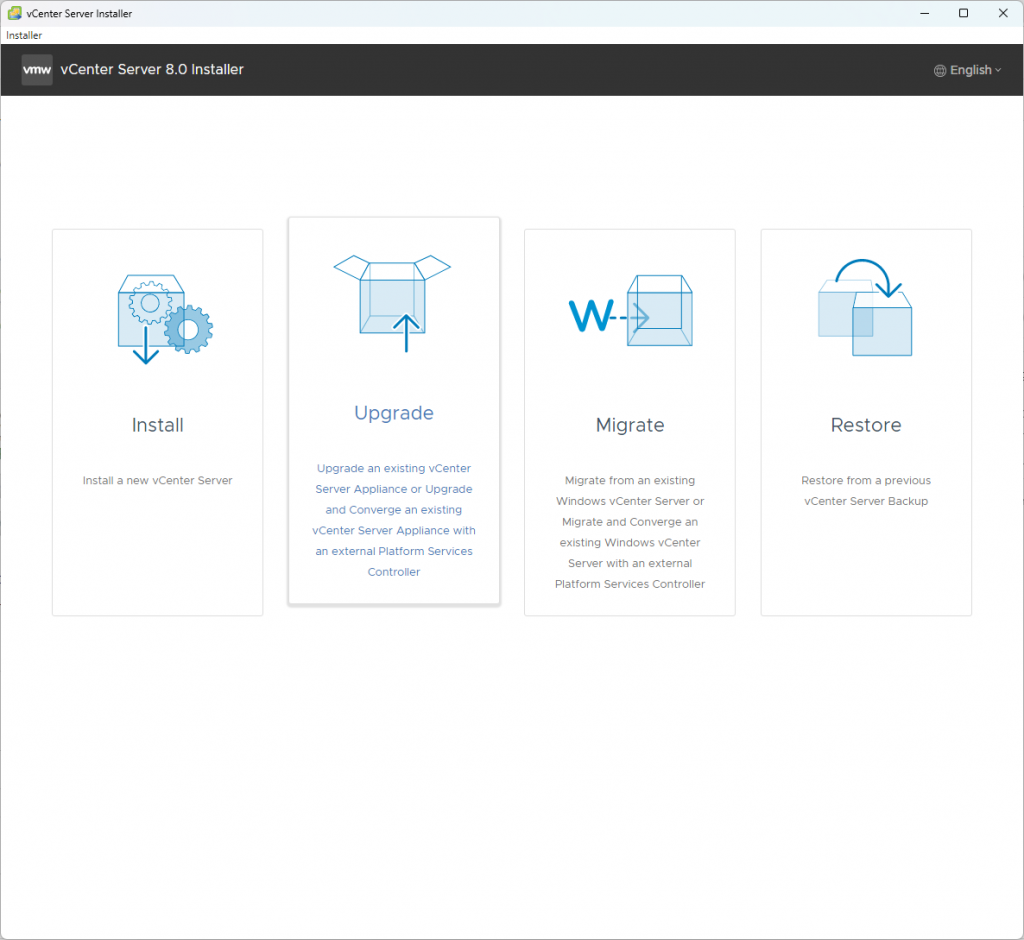
We’ll start first with the installation of vCenter. Mount your vCSA ISO and from this path DVD Drive:\vcsa-ui-installer\win32, open installer.exe. Cause I’m already running VCSA v6.7, I will proceed with an Upgrade, not an Install.
A few explanations:
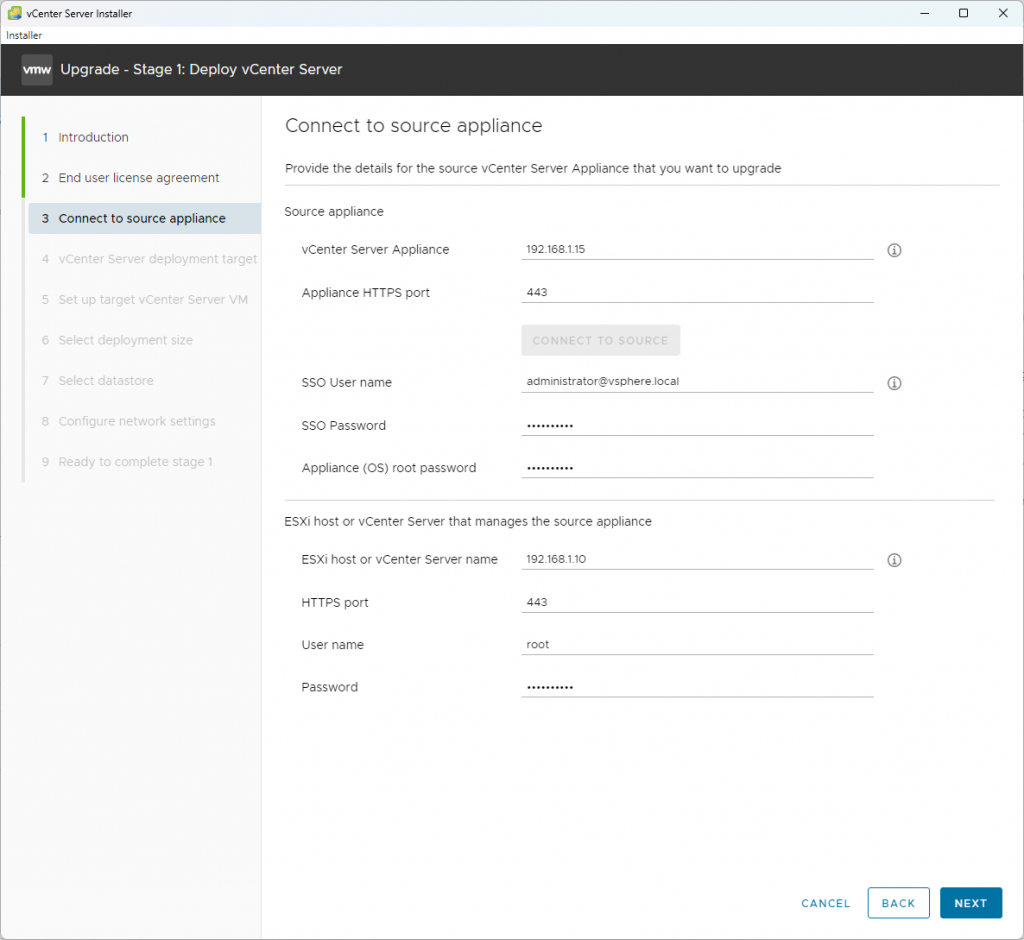
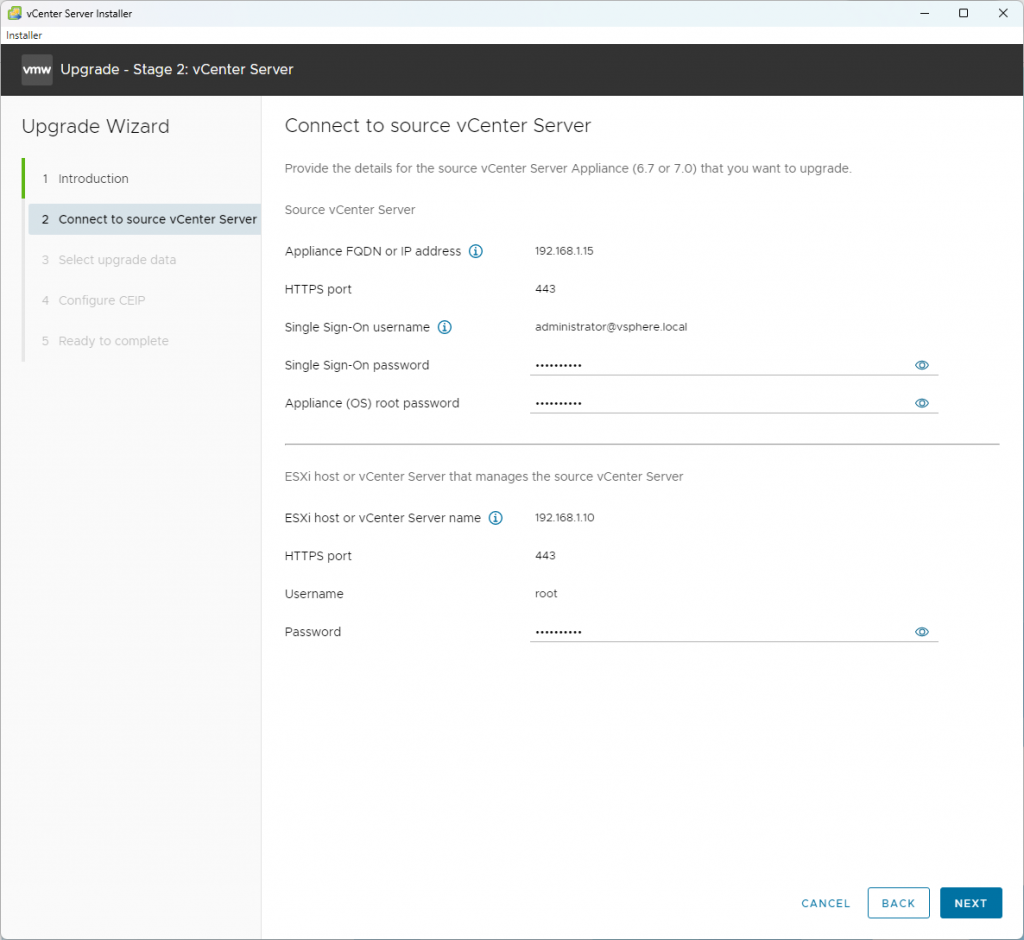
Source appliance is my running vCSA v6.7, which is having IP Address 192.168.1.15
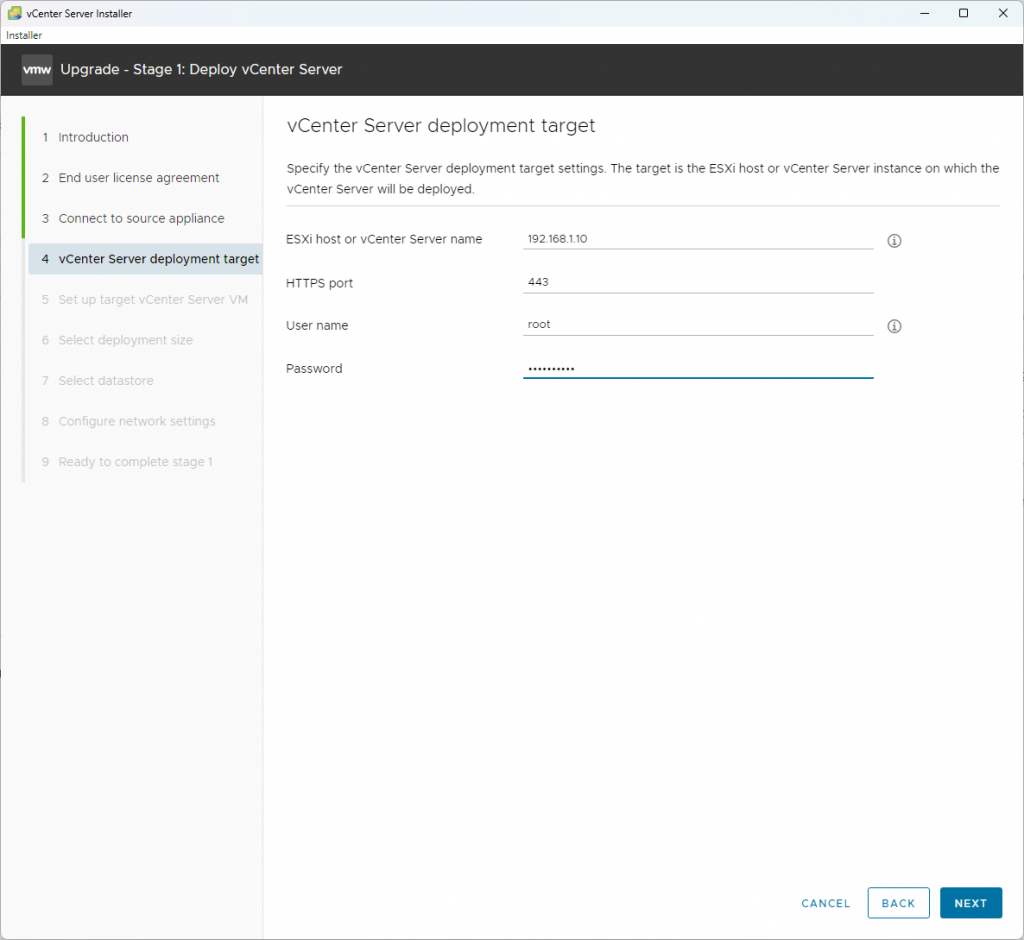
ESXi Host is the Host where vCSA is running on. In my case the IP Address is 192.168.1.10
After setting everything press NEXT.
Accept the Certificate Warning by pressing YES.
I will deploy the new vCSA v8 on the same ESXi Host – IP Address 192.168.1.10.
Insert then the user and password of the ESXi host.
Press NEXT.
Accept the Certificate Warning again by pressing YES.
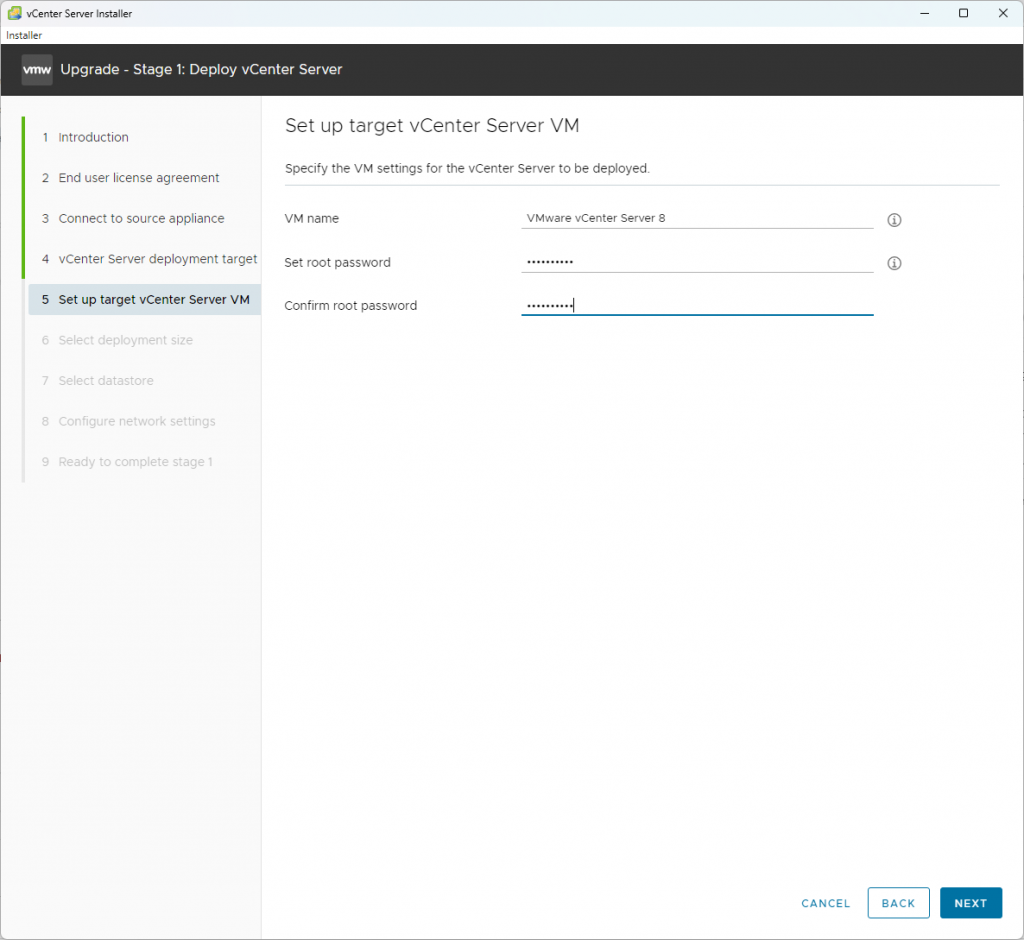
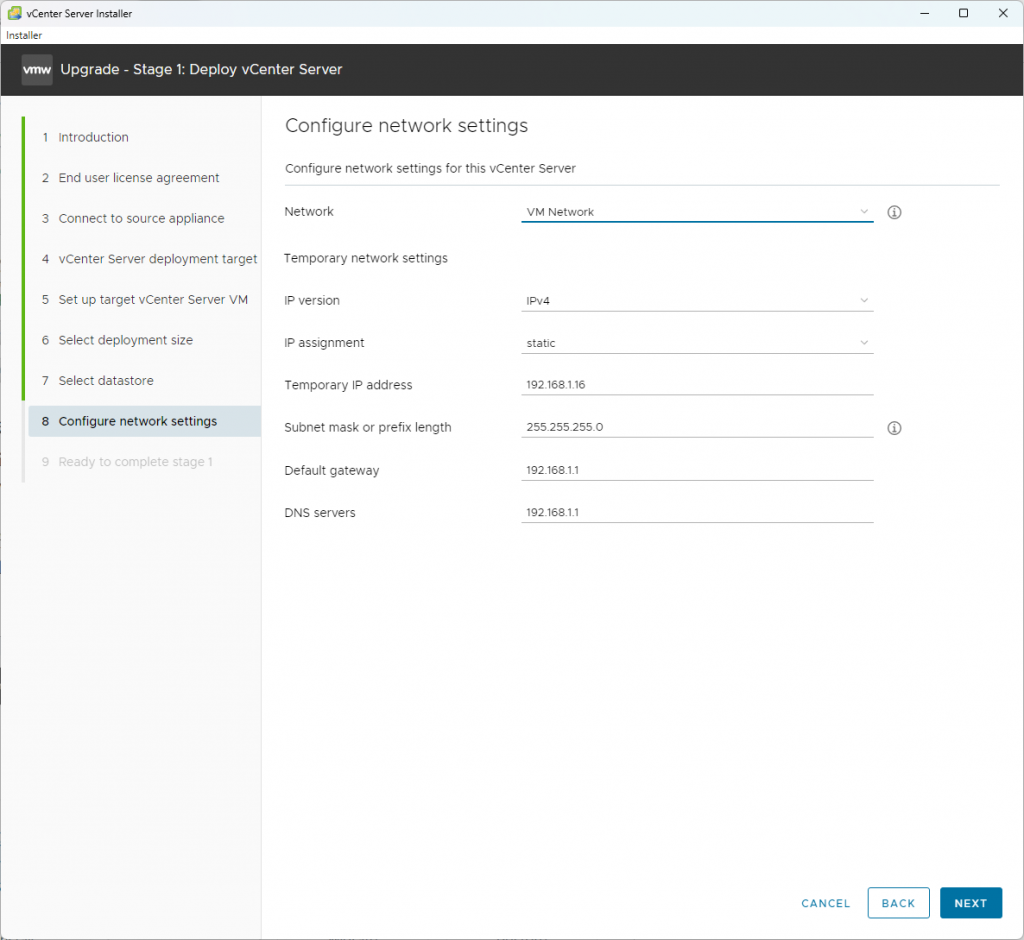
Set a name and a root password for the new VCSA Server.
Press NEXT.
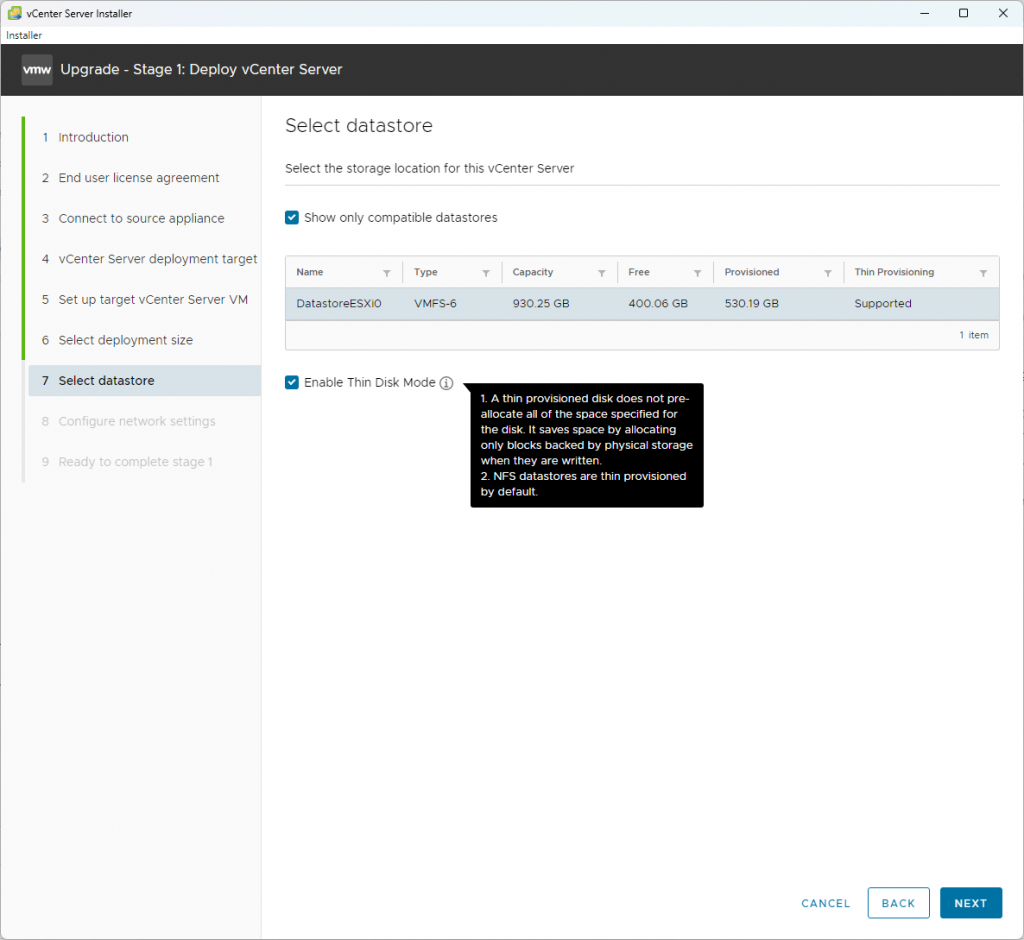
I’ll select here the Datastore and check Enable Thin Disk Mode.
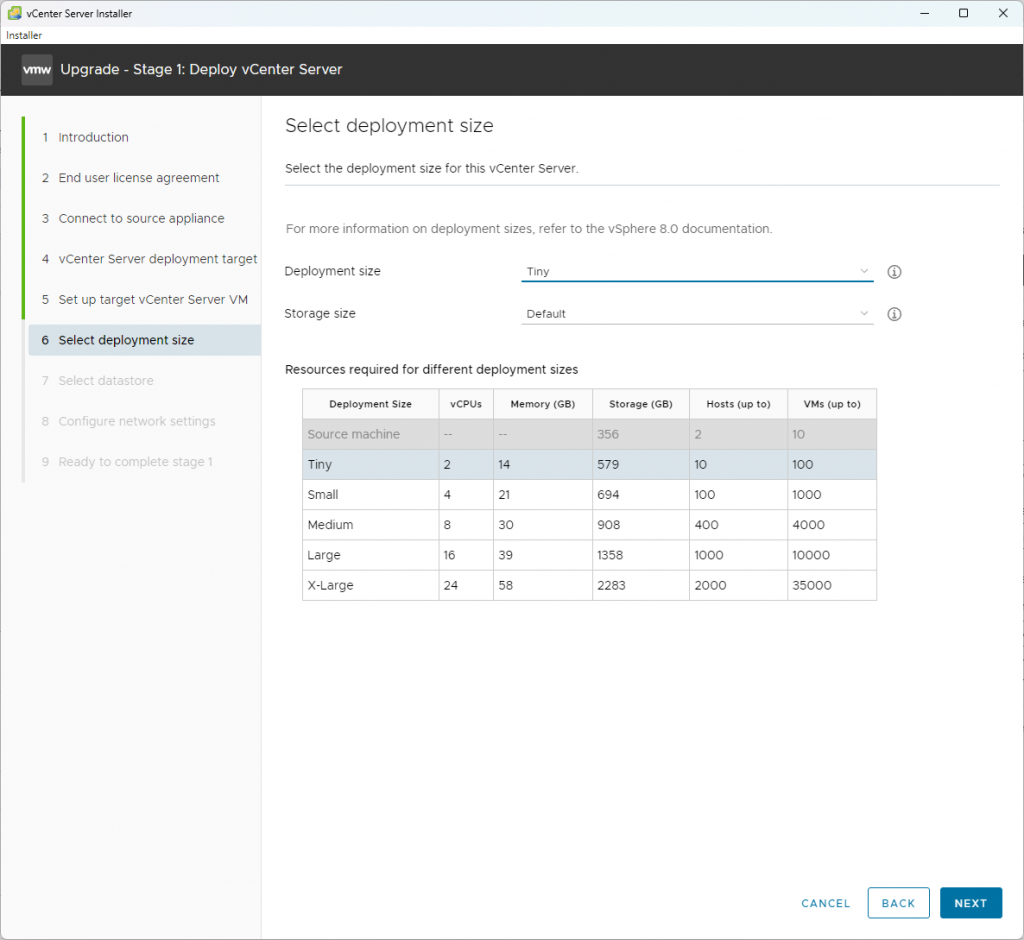
You will get at the end a summary of your configuration and you will be ready to start the Stage 1 of installation.
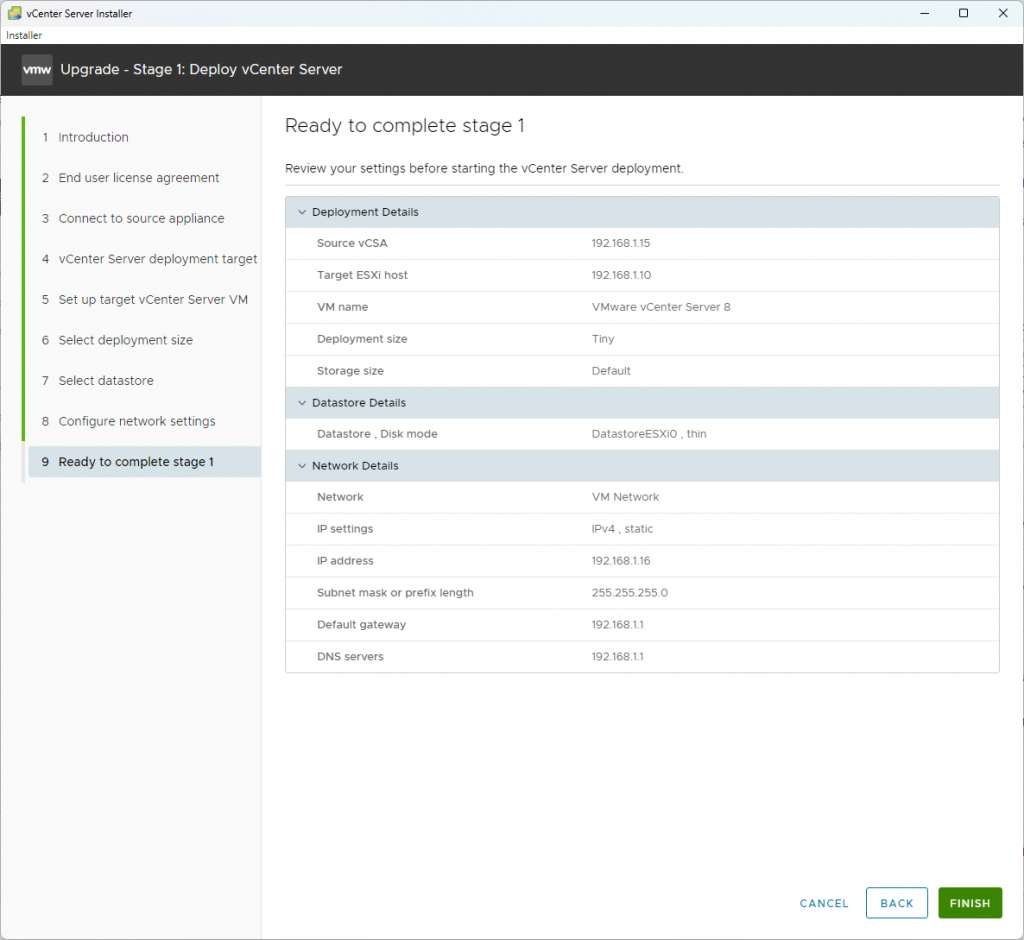
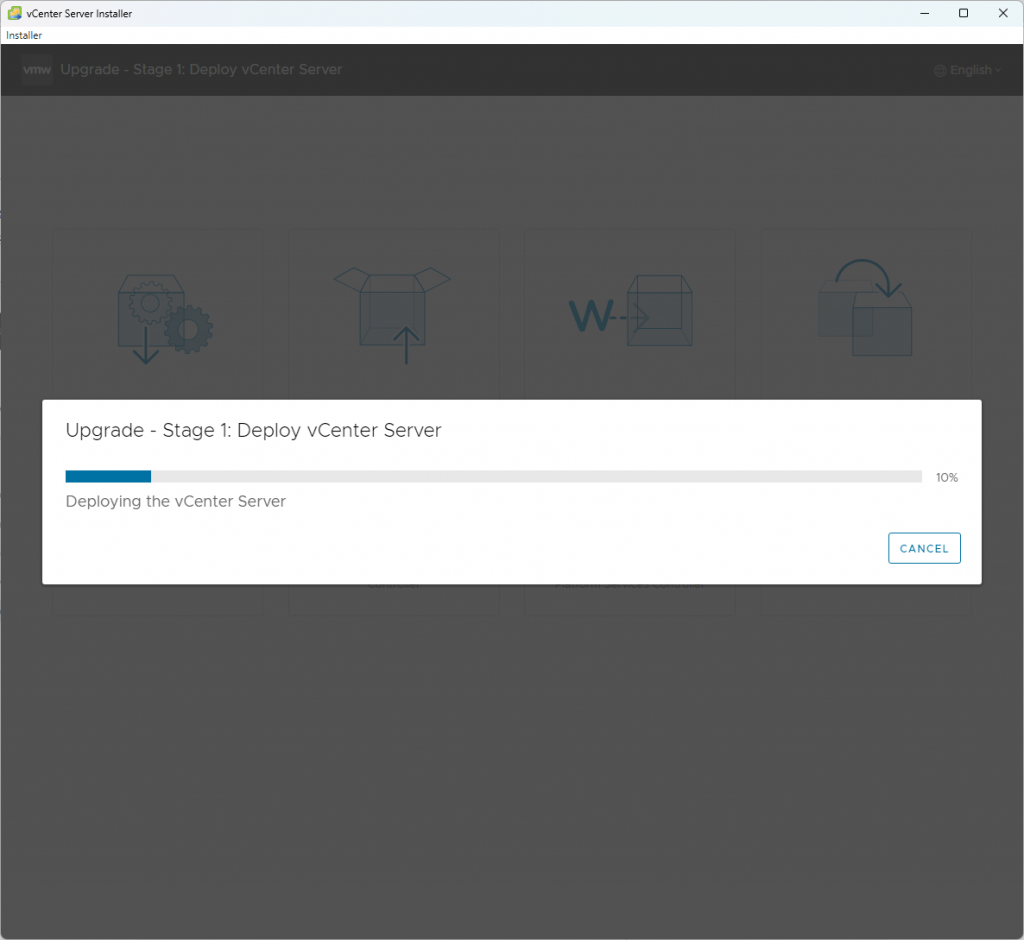
Press FINISH and the installation will start.
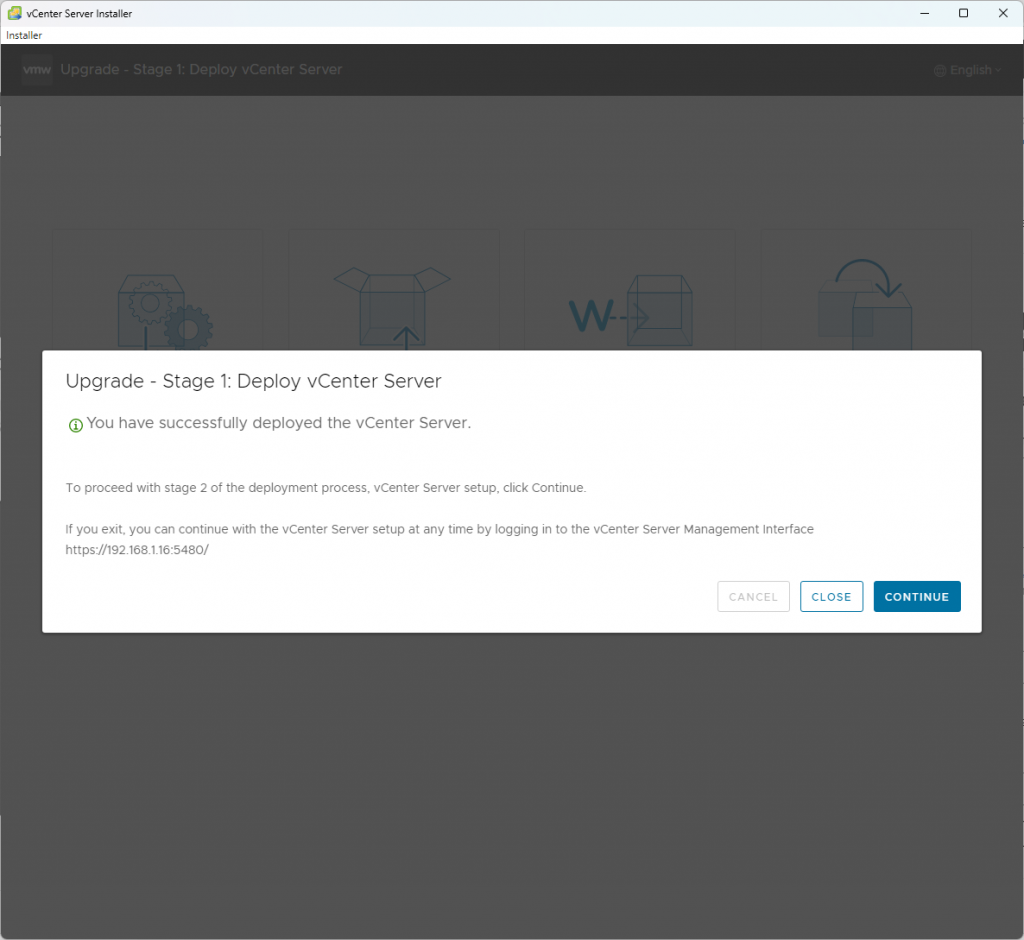
Stage1 is done. Press NEXT and proceed with Stage2.
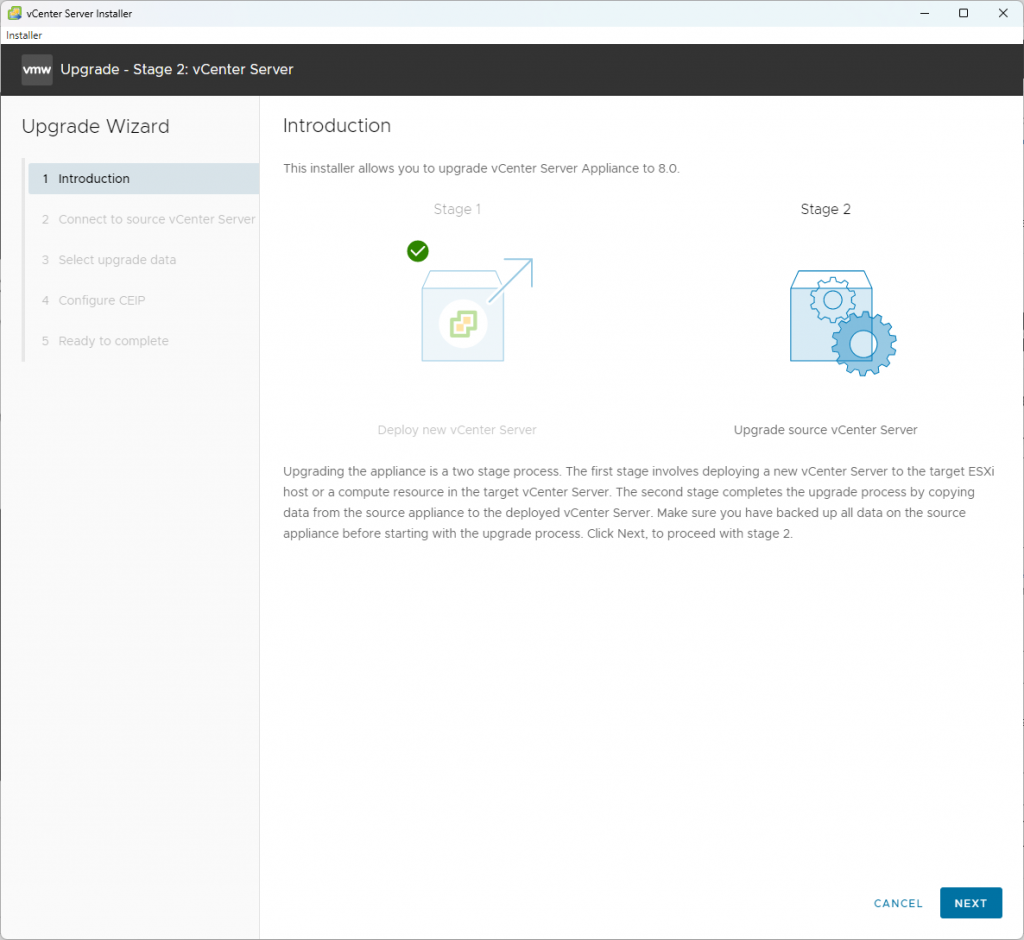
At this point I faced some problems and I was unable to continue with Stage2.
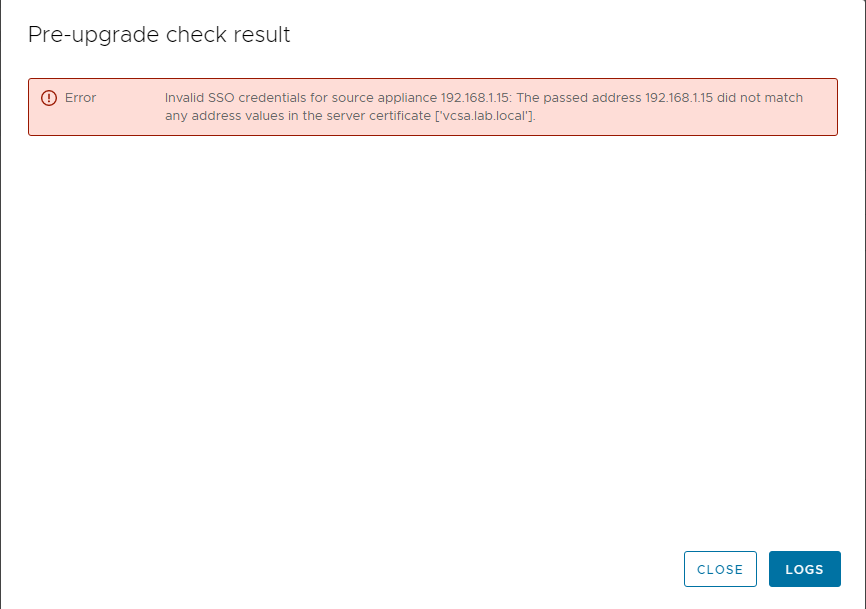
Please find here how to change your FQDN.
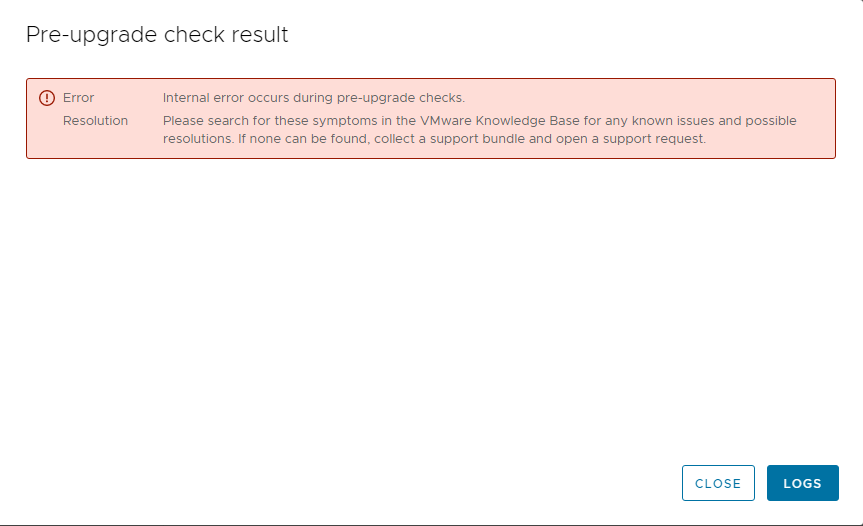
Now trying again to continue installing Stage2.
I’m receiving another error, which I assume is a good thing.
I’m connecting to the new vCSA – Temporary IP Address 192.168.1.16 via ssh and checking the logs at this path – /var/log/vmware/upgrade/upgrade-requirements.log.
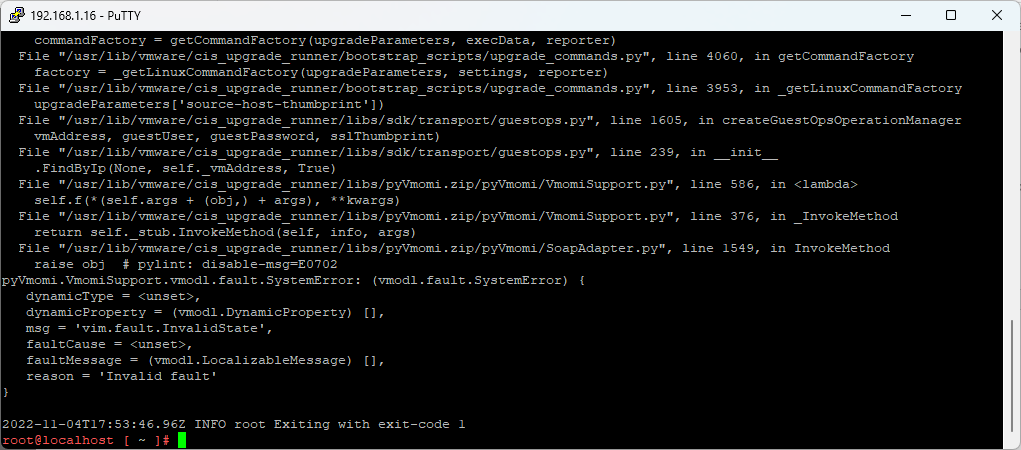
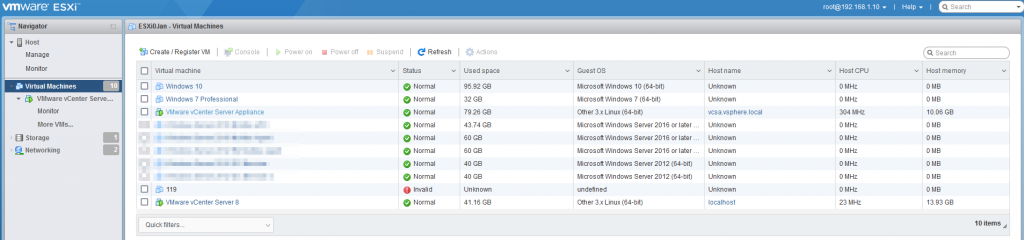
The error is stating that there’s a problem with a VM that has an invalid status. I was not able to see it in vCenter, but I could see it on ESXi web interface. The VM has the name 119.
I think the invalid state of this VM is a symptom of connecting and disconnecting the Datastore very often. Because this is only a Lab system, I’ll simply remove the VM with the invalid status.
For a detailed explanations of this issue I recommend this article here.
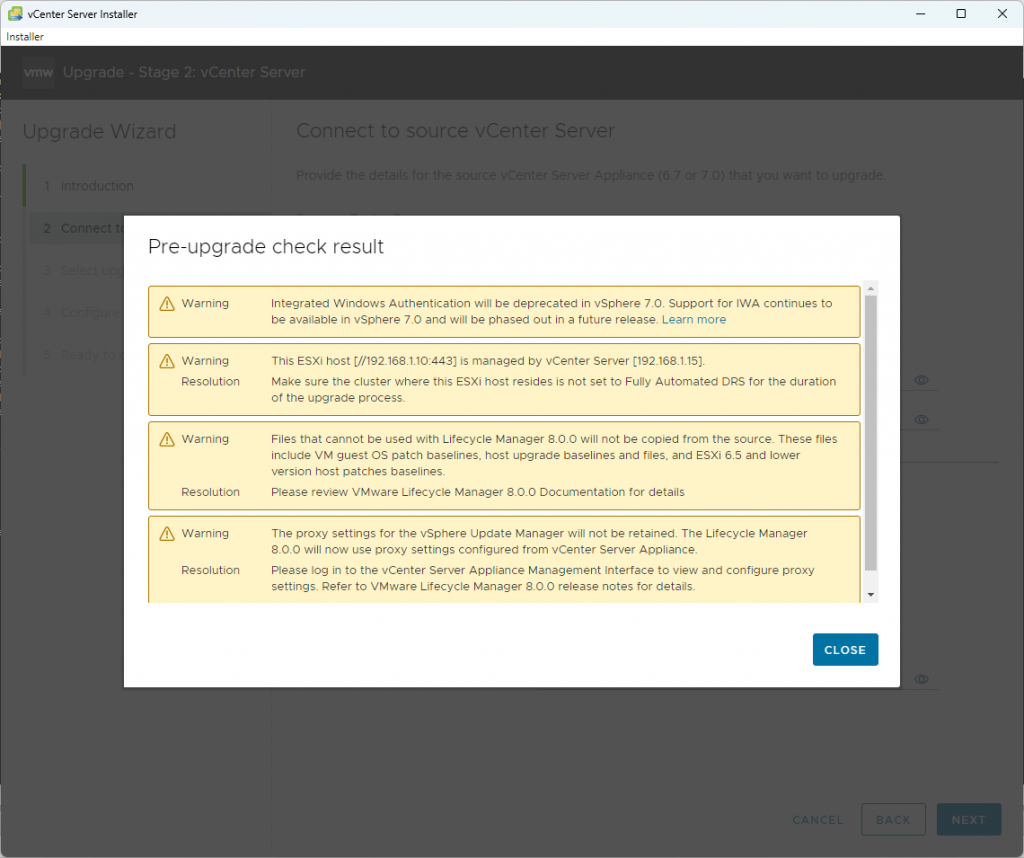
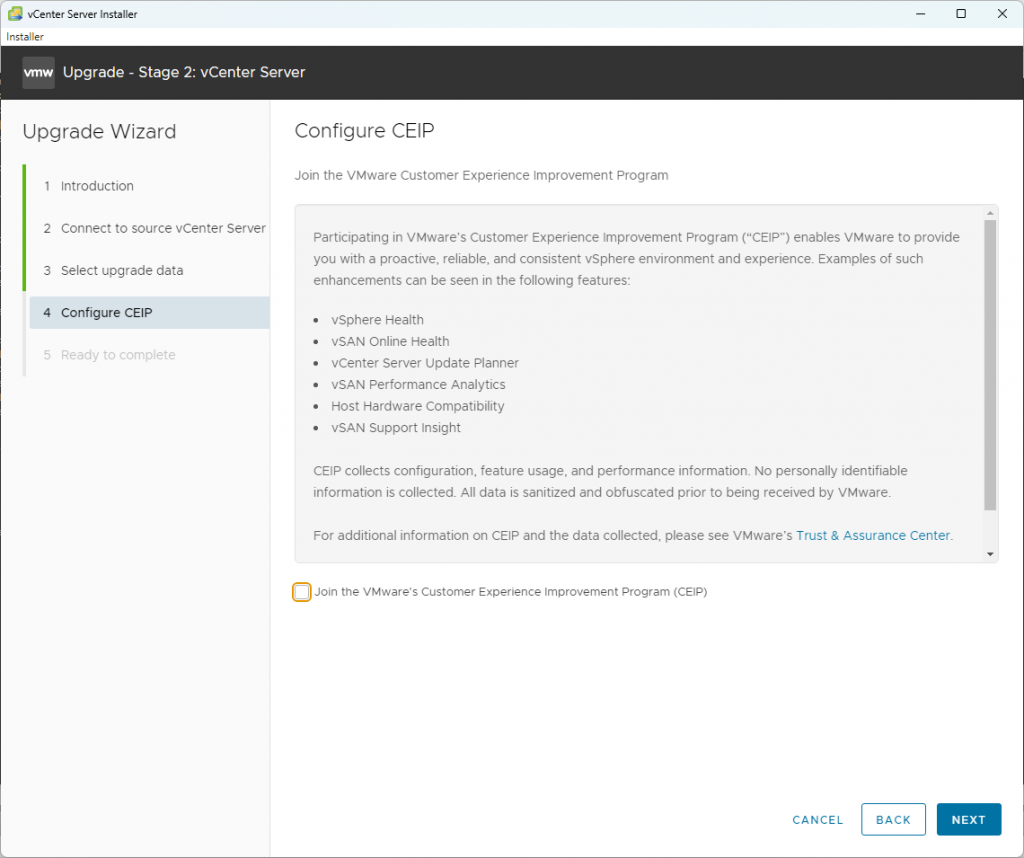
After I removed it, the issue is gone and I was able to continue. I have received this warnings and continued installation.
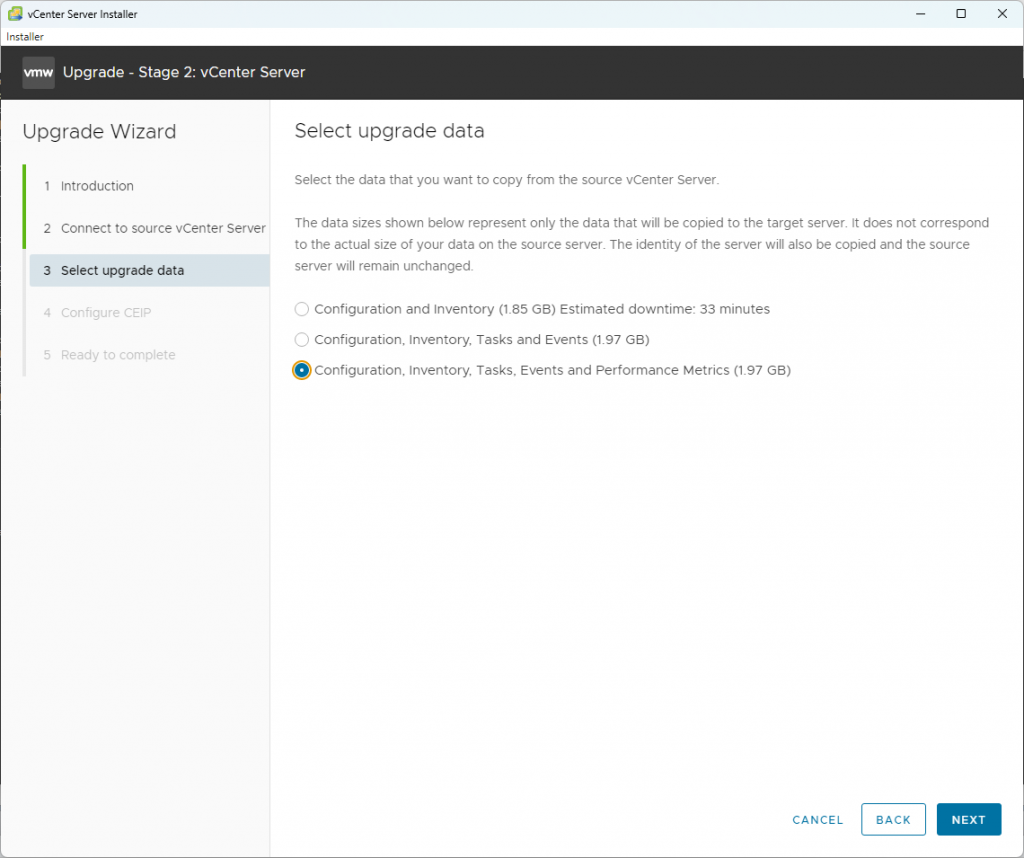
I chose to copy everything.

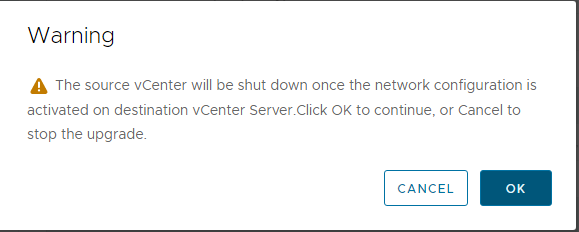
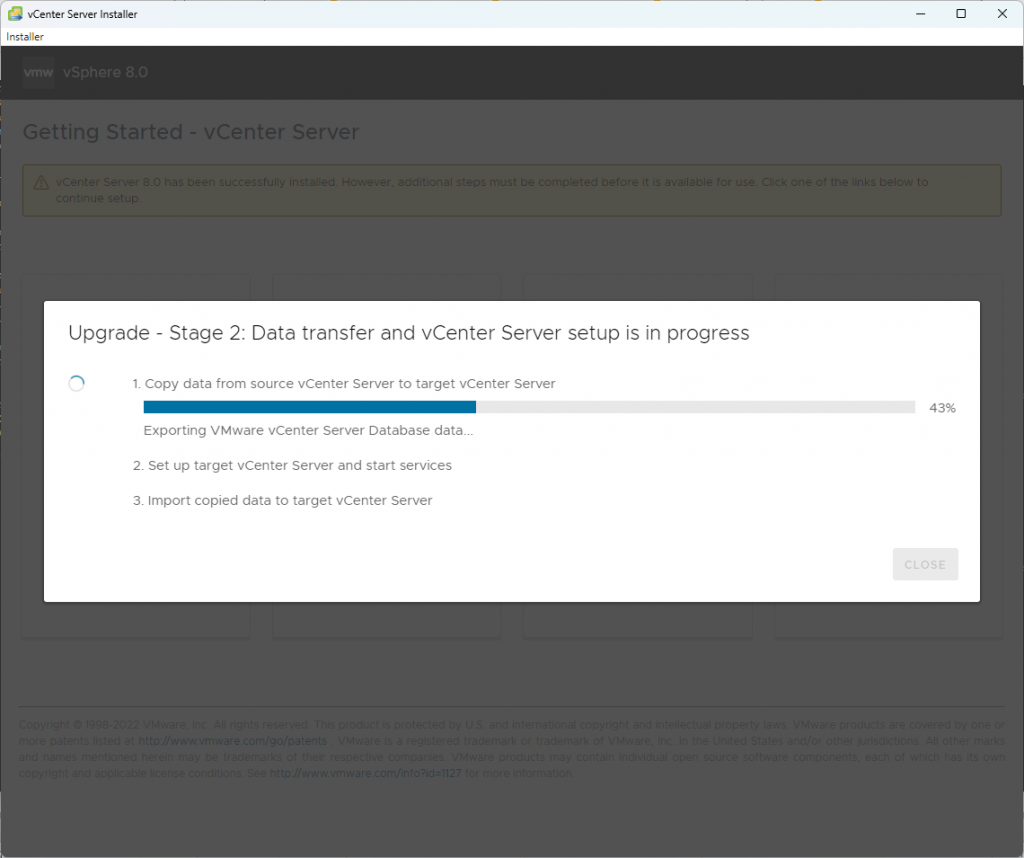
Configuration started. Be patient, it will take some time.
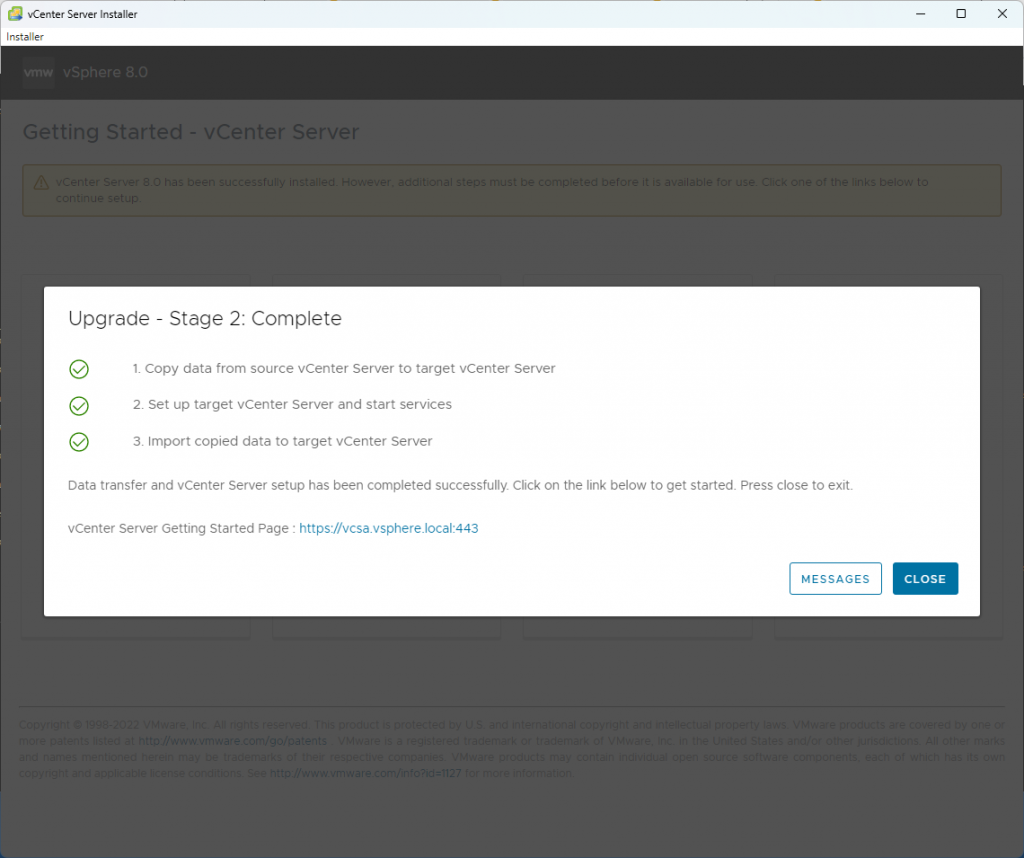
The upgrade was completed successfully.
Step two – Upgrade ESXi software
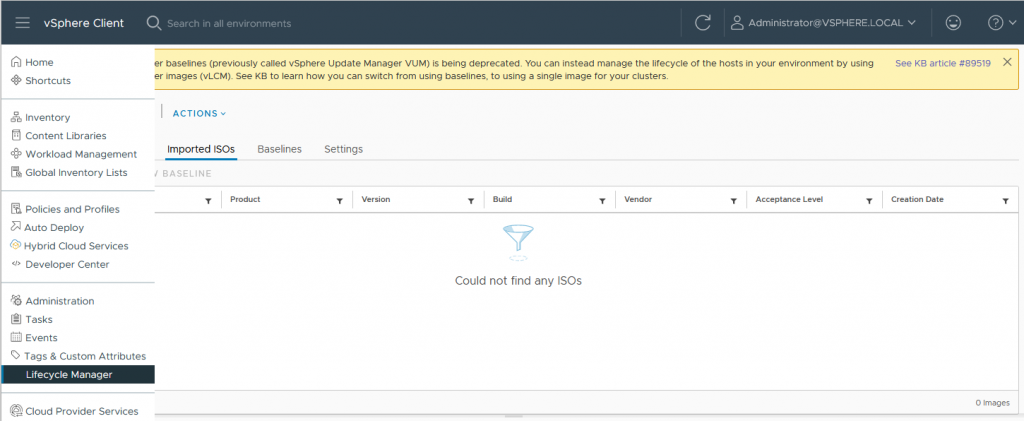
Now it’s time to start with the ESXi upgrade. Open vCenter web interface, go to Menu and then select Lifecycle Manager.
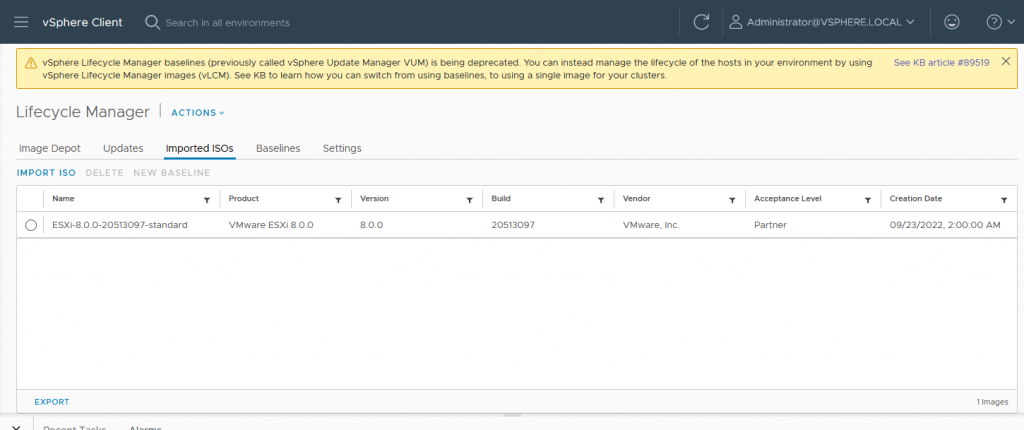
Import ISO file – VMware-VMvisor-Installer-8.0-20513097.x86_64.iso
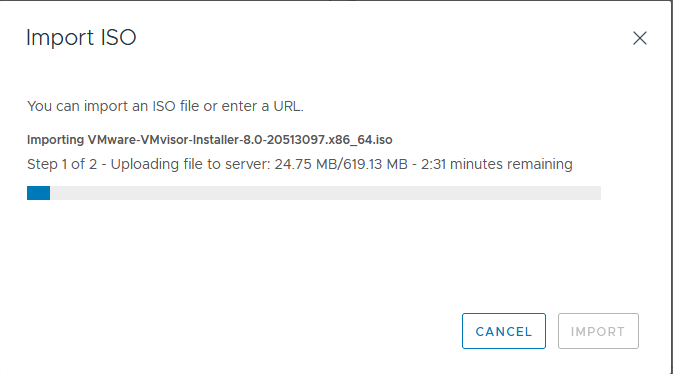
Once is done it will appear in your imported ISOs.
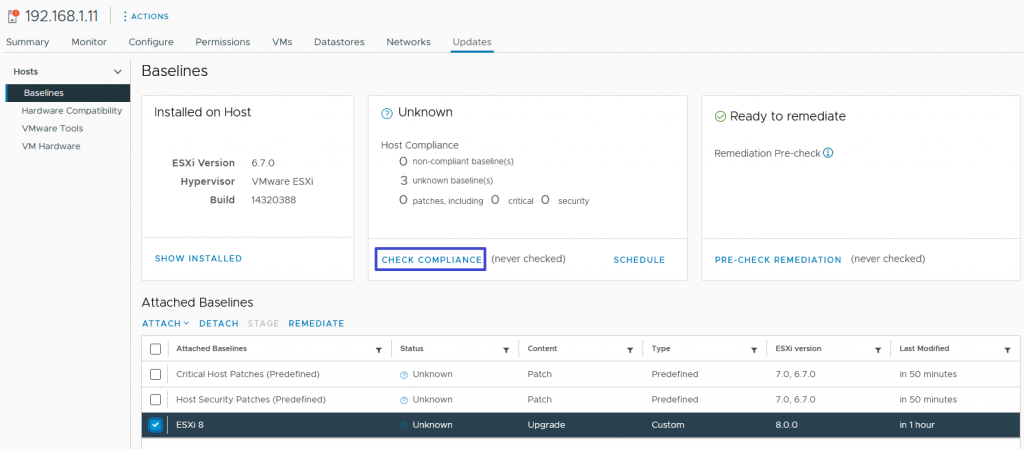
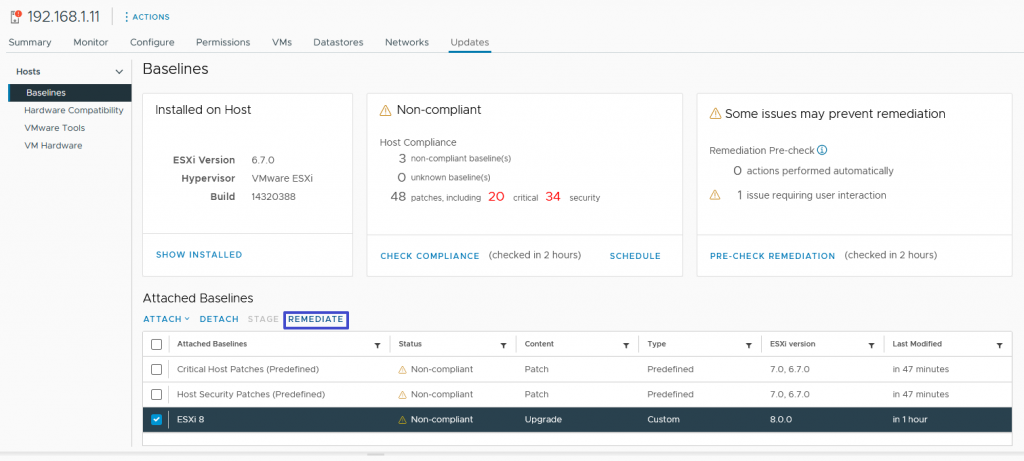
Go to Menu->Inventory and select a Host. In the Attached Baselines section, press ATTACH and select Create and Attach Baseline.
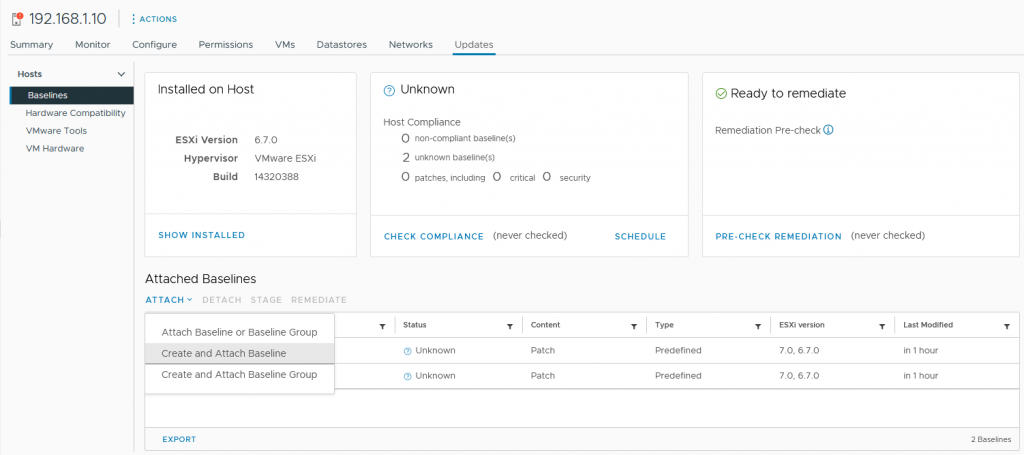
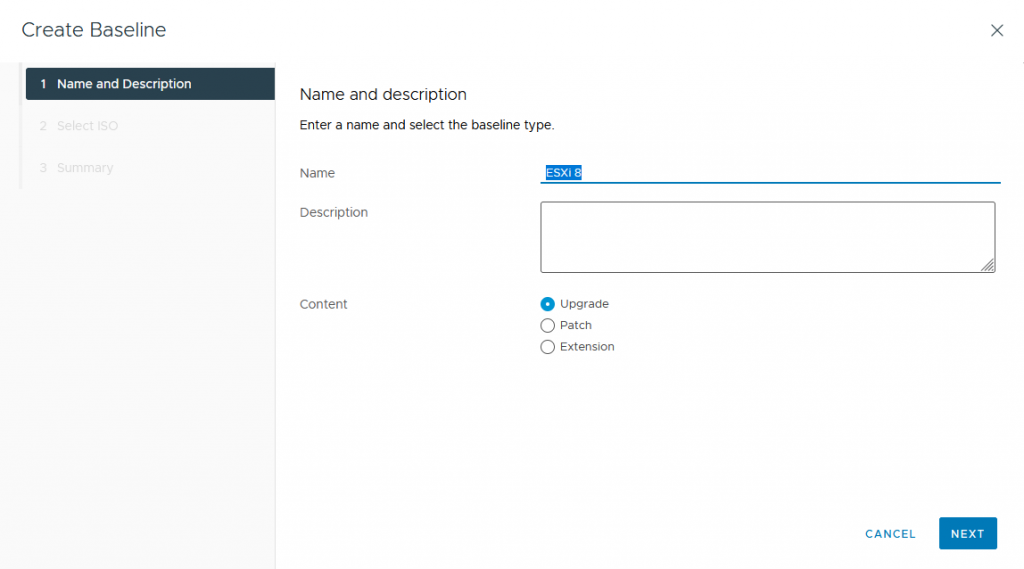
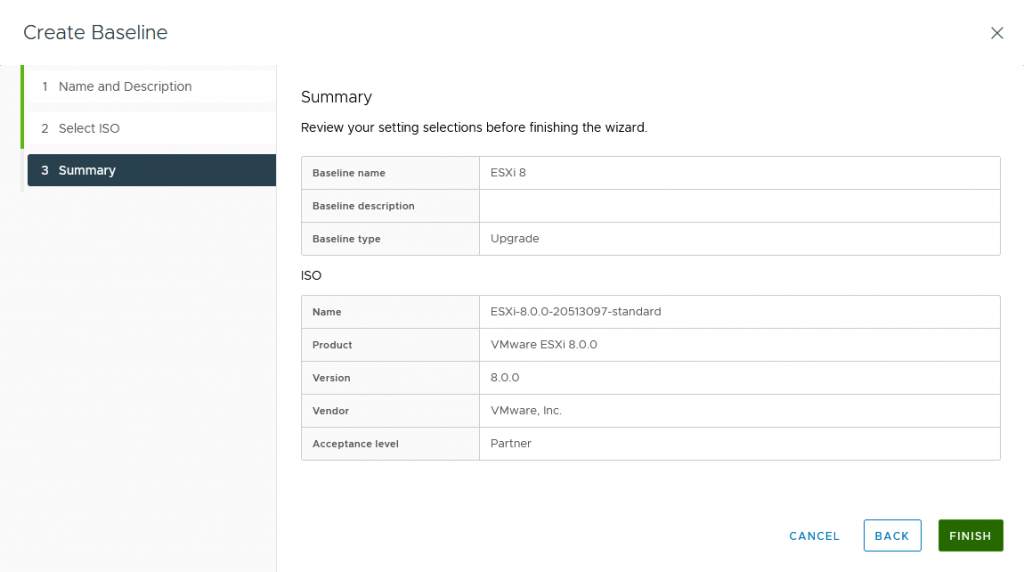
Set a name and select Content as Upgrade.
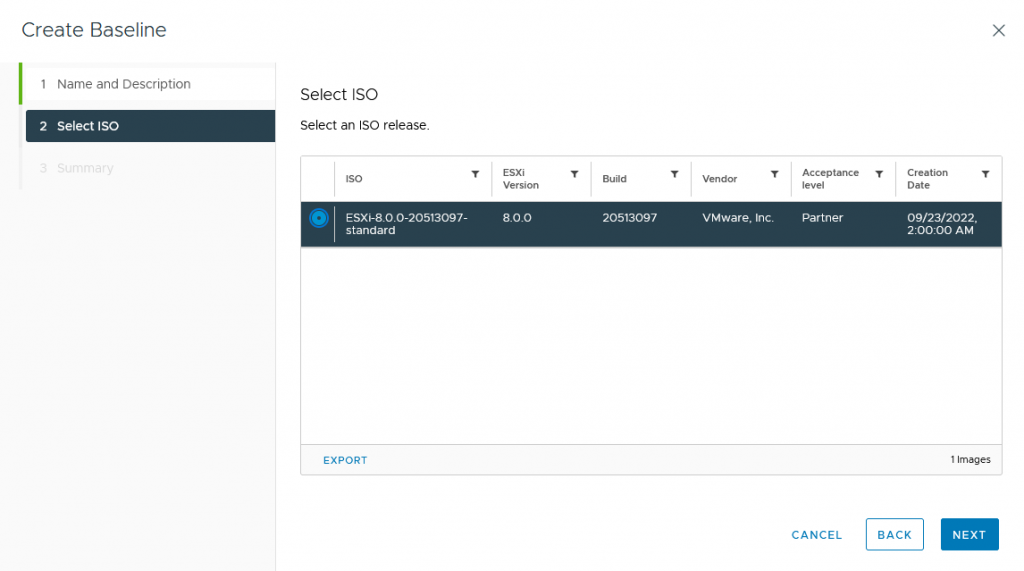
Select the previously imported ISO file.
Because vCenter is running on Host1, I will proceed first with the upgrade of Host2. Attach the Baseline also to the second Host, select the Baseline and press the Check Compliance.
All running VMs will be migrated to the first Host. After that, Remediate could be started on second Host.
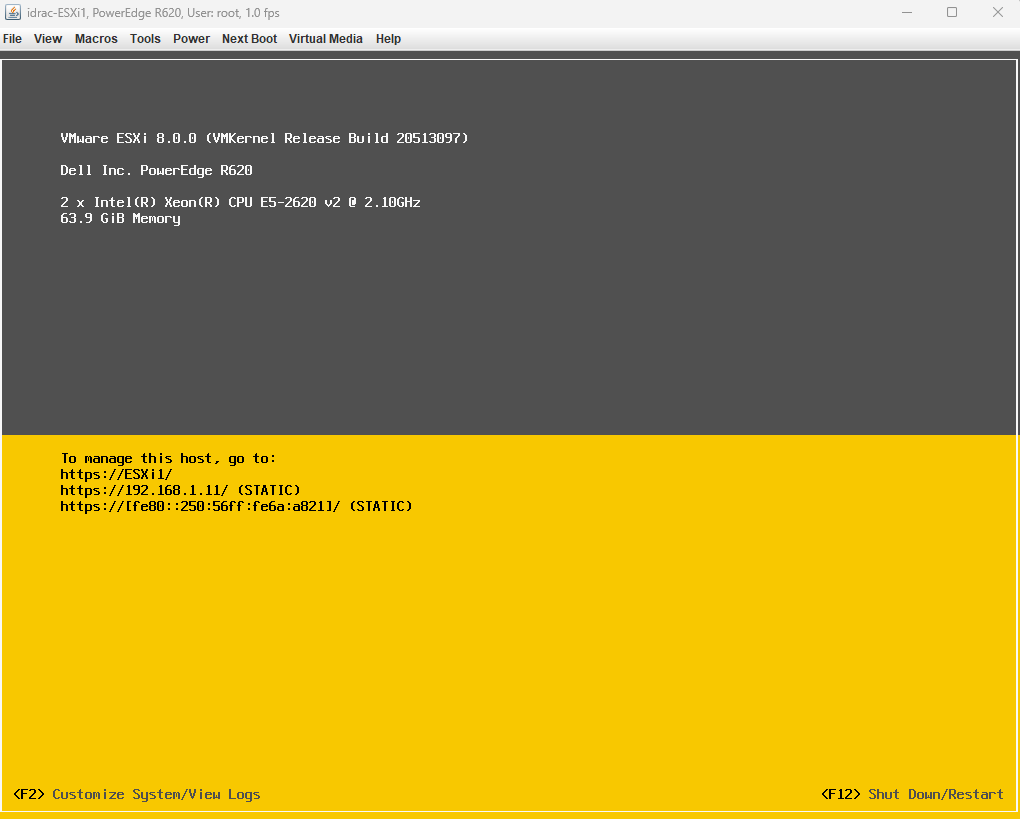
The ESXi Host2 was upgraded successfully to version 8.
Conclusion
At the beginning I thought it will be a very smooth process, without any major challenges. Though the upgrade of vCenter raised some issue, which made the installation a bit exciting. I am verry happy that I encountered these issues and I learned some new things. I hope this tutorial will also help some of you to complete successfully this upgrade .
The upgrade of ESXi worked very quick and no issues have been occurred.
I’m glad that I made this step of upgrading my Lab environment, now I’m looking forward to testing it.
Thank you very much, very helpful and straightforward!
How to rename temporary VM names to the original name?
Hmm, I’m not quite sure what you’re asking. Could you please be more specific?